

Part I: Getting Started with Excel
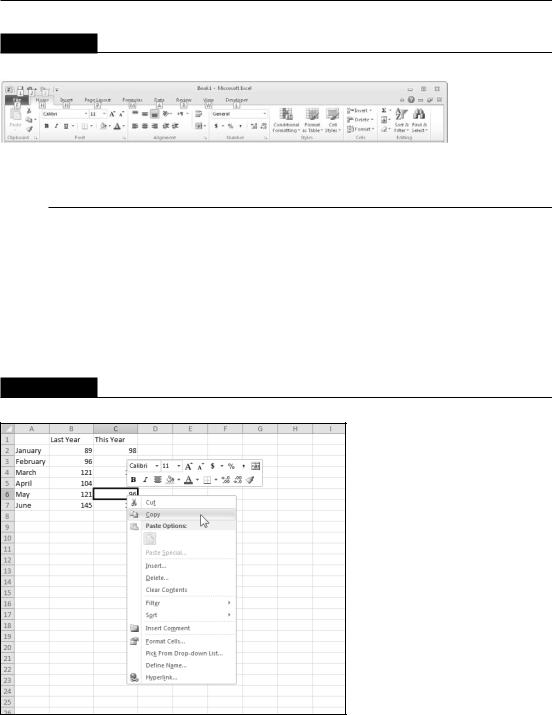
FIGURE 1.9
Pressing Alt displays the keytips.
Using Shortcut Menus
In addition to the Ribbon, Excel features many shortcut menus, which you access by right-clicking just about anything within Excel. Shortcut menus don’t contain every relevant command, just those that are most commonly used for whatever is selected.
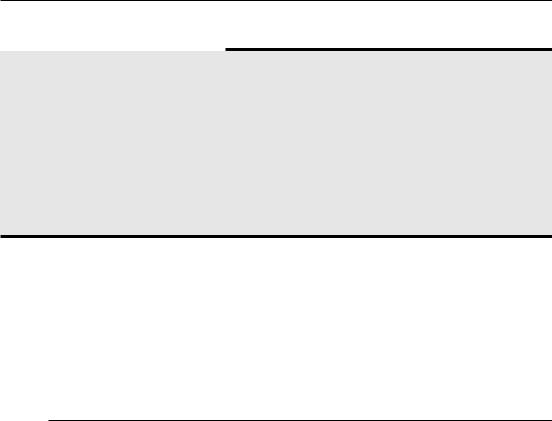
As an example, Figure 1.10 shows the shortcut menu that appears when you right-click a cell. The shortcut menu appears at the mouse-pointer position, which makes selecting a command fast and efficient. The shortcut menu that appears depends on what you’re doing at the time. For example, if you’re working with a chart, the shortcut menu contains commands that are pertinent to the selected chart element.
FIGURE 1.10
Click the right mouse button to display a shortcut menu of commands you’re most likely to use.
16
Chapter 1: Introducing Excel
Mini Toolbar Be Gone
If you find the Mini toolbar annoying, you can search all day and not find an option to turn it off. The General tab of the Excel Options dialog box has an option labeled Show Mini Toolbar on Selection, but this option applies to selecting characters while editing a cell. The only way to turn off the Mini toolbar when you right-click is to execute a VBA macro:
Sub ZapMiniToolbar()
Application.ShowMenuFloaties = True
End Sub
The statement might seem wrong, but it’s actually correct. Setting that property to True turns off the Mini toolbar. It’s a bug that appeared in Excel 2007 and was not fixed in Excel 2010 because correcting it would cause many macros to fail. (See Part VI for more information about VBA macros.)
The box above the shortcut menu — the Mini toolbar — contains commonly used tools from the Home tab. The Mini toolbar was designed to reduce the distance your mouse has to travel around the screen. Just right-click, and common formatting tools are within an inch from your mouse pointer. The Mini toolbar is particularly useful when a tab other than Home is displayed. If you use a tool on the Mini toolbar, the toolbar remains displayed in case you want to perform other formatting on the selection.
Customizing Your Quick Access Toolbar
The Ribbon is fairly efficient, but many users prefer to have some commands available at all times — without having to click a tab. The solution is to customize your Quick Access toolbar. Typically, the Quick Access toolbar appears on the left side of the title bar, above the Ribbon. Alternatively, you can display the Quick Access toolbar below the Ribbon; just right-click the Quick Access toolbar and choose Show Quick Access Toolbar below the Ribbon.
Displaying the Quick Access Toolbar below the Ribbon provides a bit more room for icons, but it also means that you see one less row of your worksheet.
By default, the Quick Access toolbar contains three tools: Save, Undo, and Repeat. You can customize the Quick Access toolbar by adding other commands that you use often. To add a command from the Ribbon to your Quick Access toolbar, right-click the command and choose Add to Quick Access Toolbar. If you click the down arrow to the right of the Quick Access toolbar, you see a drop-down menu with some additional commands that you might want to place in your Quick Access toolbar.
17
Part I: Getting Started with Excel
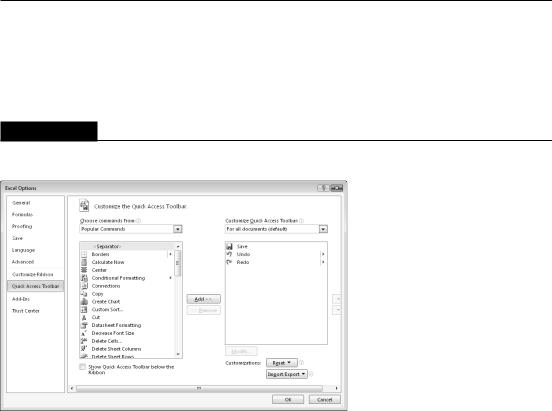
Excel has commands that aren’t available on the Ribbon. In most cases, the only way to access these commands is to add them to your Quick Access toolbar. Right-click the Quick Access toolbar and choose Customize the Quick Access Toolbar. You see the dialog box shown in Figure 1.11. This section of the Excel Options dialog box is your one-stop shop for Quick Access toolbar customization.
FIGURE 1.11
Add new icons to your Quick Access toolbar by using the Quick Access Toolbar section of the Excel Options dialog box.
Cross-Reference
See Chapter 23 for more information about customizing your Quick Access toolbar. n
Caution
You can’t reverse every action, however. Generally, anything that you do using the File button can’t be undone. For example, if you save a file and realize that you’ve overwritten a good copy with a bad one, Undo can’t save the day. You’re just out of luck. n
The Repeat button, also on the Quick Access toolbar, performs the opposite of the Undo button: Repeat reissues commands that have been undone. If nothing has been undone, then you can use the Repeat button (or Ctrl+Y) to repeat the last command that you performed. For example, if you applied a particular style to a cell (by choosing Home Styles Cell Styles), you can activate another cell and press Ctrl+Y to repeat the command.
18
Chapter 1: Introducing Excel
Changing Your Mind
You can reverse almost every action in Excel by using the Undo command, located on the Quick Access toolbar. Click Undo (or press Ctrl+Z) after issuing a command in error, and it’s as if you never issued the command. You can reverse the effects of the past 100 actions that you performed by executing Undo more than once.
If you click the arrow on the right side of the Undo button, you see a list of the actions that you can reverse. Click an item in that list to undo that action and all the subsequent actions you performed.
Working with Dialog Boxes
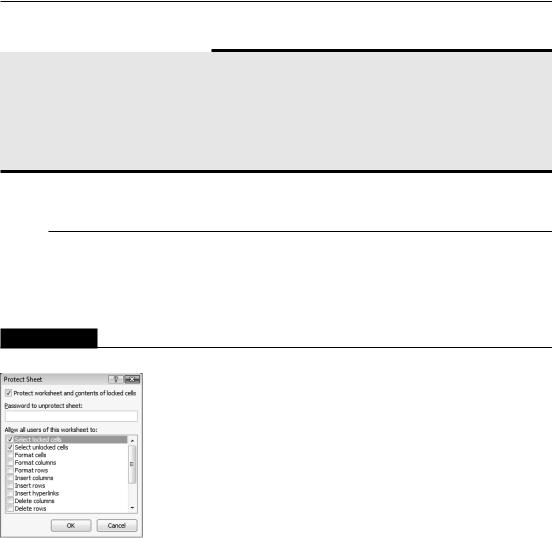
Many Excel commands display a dialog box, which is simply a way of getting more information from you. For example, if you choose Review Changes Protect Sheet, Excel can’t carry out the command until you tell it what parts of the sheet you want to protect. Therefore, it displays the Protect Sheet dialog box, shown in Figure 1.12.
FIGURE 1.12
Excel uses a dialog box to get additional information about a command.
Excel dialog boxes vary in how they work. You’ll find two types of dialog boxes:
•Typical dialog box: A modal dialog box takes the focus away from the spreadsheet. When this type of dialog box is displayed, you can’t do anything in the worksheet until you dismiss the dialog box. Clicking OK performs the specified actions, and clicking Cancel (or pressing Esc) closes the dialog box without taking any action. Most Excel dialog boxes are this type.
19

Part I: Getting Started with Excel
•Stay-on-top dialog box: A modeless dialog box works in a manner similar to a toolbar. When a modeless dialog box is displayed, you can continue working in Excel, and the dialog box remains open. Changes made in a modeless dialog box take effect immediately. For example, if you’re applying formatting to a chart, changes you make in the Format dialog box appear in the chart as soon as you make them. A modeless dialog box has a Close button but no OK button.
Most people find working with dialog boxes to be quite straightforward and natural. If you’ve used other programs, you’ll feel right at home. You can manipulate the controls either with your mouse or directly from the keyboard.
Navigating dialog boxes
Navigating dialog boxes is generally very easy — you simply click the control you want to activate.
Although dialog boxes were designed with mouse users in mind, you can also use the keyboard. Every dialog box control has text associated with it, and this text always has one underlined letter (a hot key or an accelerator key). You can access the control from the keyboard by pressing Alt and then the underlined letter. You also can press Tab to cycle through all the controls on a dialog box. Pressing Shift+Tab cycles through the controls in reverse order.
Tip
When a control is selected, it appears with a dotted outline. You can use the spacebar to activate a selected control. n
Using tabbed dialog boxes
Many Excel dialog boxes are “tabbed” dialog boxes: That is, they include notebook-like tabs, each of which is associated with a different panel.
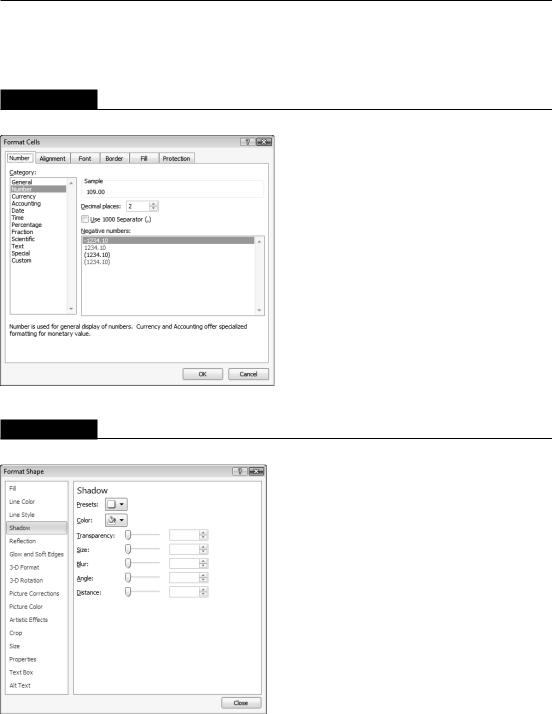
When you click a tab, the dialog box changes to display a new panel containing a new set of controls. The Format Cells dialog box, shown in Figure 1.13, is a good example. It has six tabs, which makes it functionally equivalent to six different dialog boxes.
Tabbed dialog boxes are quite convenient because you can make several changes in a single dialog box. After you make all your setting changes, click OK or press Enter.
Tip
To select a tab by using the keyboard, press Ctrl+PgUp or Ctrl+PgDn, or simply press the first letter of the tab that you want to activate. n
Excel 2007 introduced a new style of modeless tabbed dialog box in which the tabs are on the left, rather than across the top. Excel 2010 also uses this style. Figure 1.14 shows the Format Shape
20
Chapter 1: Introducing Excel
dialog box, which is modeless tabbed. To select a tab using the keyboard, press the upor downarrow key and then Tab to access the controls.
FIGURE 1.13
Use the dialog box tabs to select different functional areas in the dialog box.
FIGURE 1.14
A tabbed dialog box with tabs on the left.
21