


Printing Your Work
Despite predictions of the “paperless office,” reports printed on paper remain commonplace, and they will be around for a long time. Many worksheets that you develop with Excel can probably serve as
printed reports. You’ll find that printing from Excel is quite easy and that you can generate attractive, well-formatted reports with minimal effort. In addition, Excel has many options that provide you with a great deal of control over the printed page so that you can make your printed reports even better. These options are explained in this chapter.
Printing with One Click
If you want to print a copy of a worksheet with no fuss and bother, use the Quick Print option. One way to access this command is to choose
File Print (which displays the Print pane of Backstage View), and then click the Print button.
Issuing that command with a mouse takes three clicks, though. A slightly more efficient method is to press Ctrl+P and then click the Print button (or press Enter).
But if you like the idea of one-click printing, take a few seconds to add a new button to your Quick Access toolbar: Click the downward-pointing arrow on the right of the Quick Access toolbar and then choose Quick Print from the drop-down list. Excel adds the Quick Print icon (looks like a desktop printer) to your Quick Access toolbar.
Clicking the Quick Print button prints the current worksheet on the currently selected printer, using the default print settings. If you’ve changed any
CHAPTER
IN THIS CHAPTER
One-click printing
Changing your worksheet view
Adjusting your print settings for better results
Preventing some cells from being printed
Using Custom Views
171

Part I: Getting Started with Excel
of the default print settings (by using the Page Layout tab), Excel uses the new settings; otherwise, it uses the following default settings:
•Prints the active worksheet (or all selected worksheets), including any embedded charts or objects
•Prints one copy
•Prints the entire active worksheet
•Prints in portrait mode
•Doesn’t scale the printed output
•Uses letter-size paper with .75" margins for the top and bottom and .70" margins for the left and right margins (for the U.S. version)
•Prints with no headers or footers
•Doesn’t print cell comments
•Prints with no cell gridlines
•For wide worksheets that span multiple pages, prints down and then over
When you print a worksheet, Excel prints only the active area of the worksheet. In other words, it won’t print all 17 billion cells — just those that have data in them. If the worksheet contains any embedded charts or other graphic objects (such as SmartArt or Shapes), they’re also printed.
Tip
To quickly determine the active area of the worksheet, press Ctrl+End to move to the last active cell in the worksheet. The active area is between cell A1 and the last active cell. You may notice that Ctrl+End isn’t always accurate. For example, if you’ve deleted some rows, Ctrl+End will take you to the last row that you deleted. However, when the sheet is printed, the active area is reset, so the empty rows are not printed. n
Changing Your Page View
Page Layout view, a feature introduced in Excel 2007, shows your worksheet divided up into pages. In other words, you can visualize your printed output while you work.
Page Layout view is one of three worksheet views, which are controlled by the three icons on the right side of the status bar. You could also use the commands in the View Workbook Views group on the Ribbon to switch views. The three view options are
•Normal: The default view of the worksheet. This view may or may not show page breaks.
•Page Layout: Shows individual pages.
•Page Break Preview: Allows you to manually adjust page breaks.
172

Chapter 9: Printing Your Work
Using Print Preview
When you choose File Print, Backstage View displays a preview of your printed output, exactly as it will be printed. Initially, Excel displays the first page of your printed output. To view subsequent pages, use the page controls along the bottom of the preview pane (or, use the vertical scrollbar along the right side of the screen).
For one-click access to the Print Preview display, add a button to your Quick Access toolbar: Click the downward-pointing arrow on the right of the Quick Access toolbar, and choose Print Preview from the drop-down list. Excel adds the Print Preview icon (a dog-eared piece of paper with a magnifying glass) to your Quick Access toolbar.
The Print Preview window has a few other commands (at the bottom) that you can use while previewing your output. For multipage printout, use the page number controls to quickly jump to a particular page. The Show Margins button toggles the display of margins, and the Zoom to Page ensures that a complete page is displayed.
When the Show Margins option is in effect, Excel adds markers to the preview that indicate column borders and margins. You can drag the column or margin markers to make changes that appear onscreen. Changes that you make to column widths in preview mode are also made in the actual worksheet.
Print Preview is certainly useful, but you may prefer to use Page Layout view to preview your output (see “Changing Your Page View”).
Just click one of the icons to change the view. You can also use the Zoom slider to change the magnification from 10% (a very tiny, bird’s-eye view) to 400% (very large, for showing fine detail).
The following sections describe how these views can help with printing.
Normal view
Most of the time when you work in Excel, you use Normal view. Normal view can display page breaks in the worksheet. The page breaks are indicated by horizontal and vertical dotted lines. These page break lines adjust automatically if you change the page orientation, add or delete rows or columns, change row heights, change column widths, and so on. For example, if you find that your printed output is too wide to fit on a single page, you can adjust the column widths (keeping an eye on the page-break display) until the columns are narrow enough to print on one page.
Note
Page breaks aren’t displayed until you print (or preview) the worksheet at least one time. Page breaks are also displayed if you set a print area by choosing Page Layout Page Setup Print Area. n
173
Part I: Getting Started with Excel
Tip
If you’d prefer to not see the page break display in Normal view, choose FIle Options and select the Advanced tab. Scroll down to the Display Options for This Worksheet section and remove the check mark from Show Page Breaks. This setting applies only to the active worksheet. Unfortunately, the option to turn off page break display is not on the Ribbon, and it’s not even available for inclusion on the Quick Access toolbar. n
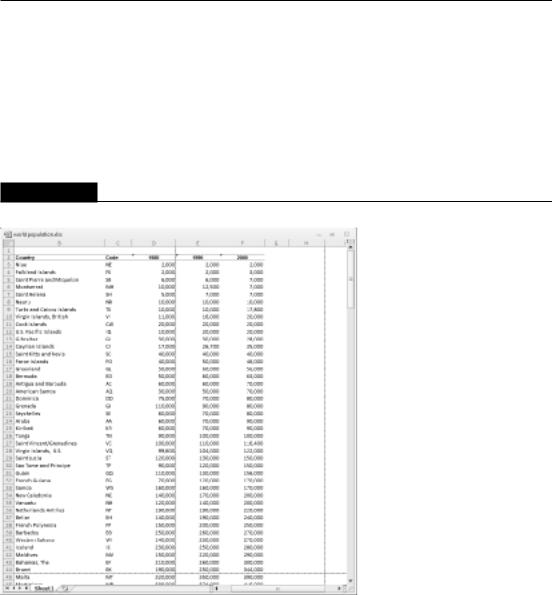
Figure 9.1 shows a worksheet in Normal view, zoomed out to show multiple pages. Notice the dotted lines that indicate page breaks.
FIGURE 9.1
In Normal view, dotted lines indicate page breaks.
Page Layout view
Page Layout view is the ultimate print preview. Unlike the preview in Backstage View (choose
File Print), this mode is not a view-only mode. You have complete access to all Excel commands. In fact, you can use Page Layout view all the time if you like.
Figure 9.2 shows a worksheet in Page Layout view, zoomed out to show multiple pages. Notice that the page header and footer (if any) appear on each page, giving you a true preview of the printed output.
174
Chapter 9: Printing Your Work
Tip
If you move the mouse to the corner of a page while in Page Layout view, you can click to hide the white space in the margins. Doing so gives you all the advantages of Page Layout view, but you can see more information onscreen because the unused margin space is hidden. n
FIGURE 9.2
In Page Layout view, the worksheet resembles printed pages.
Page Break Preview
Page Break Preview displays the worksheet and shows where the page breaks occur. Figure 9.3 shows an example. This view mode is different from Normal view mode with page breaks turned on: The key difference is that you can drag the page breaks. Unlike Page Layout view, Page Break Preview does not display headers and footers.
When you enter Page Break Preview, Excel performs the following:
•Changes the zoom factor so that you can see more of the worksheet.
•Displays the page numbers overlaid on the pages.
175
Part I: Getting Started with Excel
•Displays the current print range with a white background; nonprinting data appears with a gray background.
•Displays all page breaks as draggable dashed lines.
When you change the page breaks by dragging, Excel automatically adjusts the scaling so that the information fits on the pages, per your specifications.
Tip
In Page Break Preview, you still have access to all Excel commands. You can change the zoom factor if you find the text to be too small. n
To exit Page Break Preview, just click one of the other View icons on the status bar.
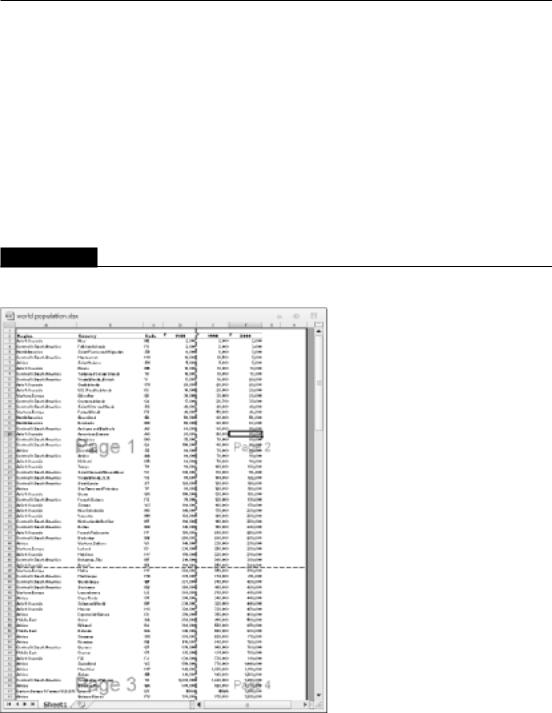
FIGURE 9.3
Page Break Preview mode gives you a bird’s-eye view of your worksheet and shows exactly where the page breaks occur.
176