


Learning How to Use a Wire Cutter • 243
In the beginning, the color coding seems to be complicated, but you’ll get used to it quickly. Also, you can find countless tools for determining resistor values on the Internet.2
For the book’s projects, this is all the theory of electricity you need to know. To learn more about electronics, have a look at Make: Electronics [Pla10] or at http://lcamtuf.coredump.cx/electronics/, for example.
Learning How to Use a Wire Cutter
When working with breadboards and through-hole parts, you often have to shorten wires. Sometimes you have to cut plain wires that you need to connect parts in your circuit. Other times you have to cut the wires of a component like a resistor to make it easier to handle.
For these purposes, a wire cutter is indispensable.
Using a wire cutter is like using a pair of scissors. The only difference is that you usually cut different types of material. When cutting metal wires you should always wear safety glasses. Often, when I cut wires, the part I cut off flies right into my safety glasses.
Learning How to Solder
You can build nearly all of the book’s projects by plugging parts into a breadboard or directly into the Arduino board. But sooner or later you’ll have to learn how to solder if you want to become an expert in electronics. That’s mainly because you’ll learn the most by building projects, and even the simplest kits require some sort of soldering.
Many people think that soldering is difficult or requires expensive equipment, so they never try to do it. The truth is that it’s cheap and pretty easy. It requires some practice, but after only a few solder joints you’ll see that it’s not rocket science.
In this book, we have one project that requires you to solder a pin header to an ADXL335 breakout board. We need it for building the motion-sensing game controller in Chapter 6, Building a Motion-Sensing Game Controller, on page 99. In this section, you’ll learn how to do it, and you’ll need the following equipment:
2.http://www.digikey.de/en/resources/conversion-calculators/conversion-calculator-resistor-color-code-4-band
report erratum • discuss
Appendix 1. Electronics and Soldering Basics • 244
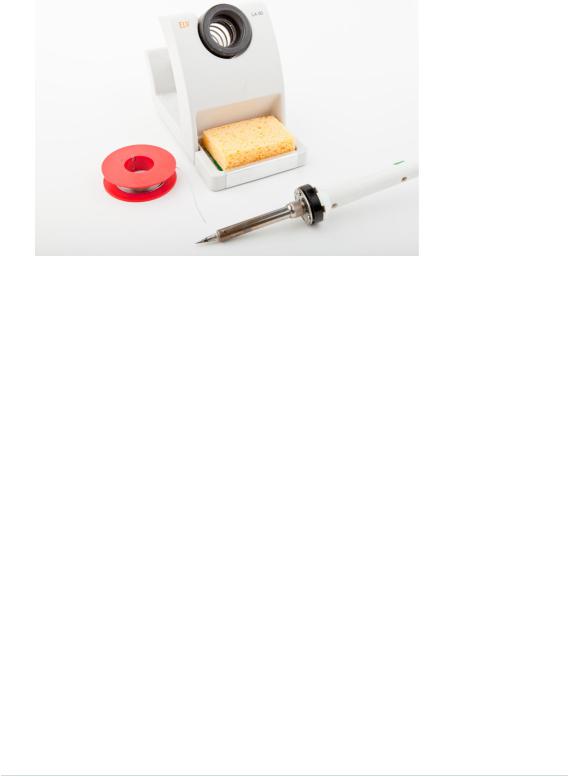
•A 25–30W soldering iron with a tip (preferably 1/16-inch) and a soldering stand.
•A standard 60/40 solder (rosin-core) spool for electronics work. It should have a 0.031-inch diameter.
•A sponge.
Before you start to solder, prepare your work area. Make sure you can easily access all your tools and that you have something to protect your work area from drops of solder. Wearing safety glasses is always a good idea! Even seemingly simple and harmless activities such as cutting wires can be very dangerous! Also make sure that your room has good ventilation, because the solder fumes aren’t good for your health.
Bring all parts into the correct position: attach the pin header to the breakout board, and make sure you can’t accidentally move it while soldering.
People get very creative when it comes to locking parts into a certain position. But you have to be careful—don’t use flammable materials to bring parts together. You also shouldn’t use parts that distribute heat very well, especially if they’re in touch with other parts. Duct tape might work in some cases, but be careful with it, too.
Try to find a piece of wood or something similar that has the right height: the height of the pin headers. Then you can put the breakout board on top of it and attach the pin headers. If you’re planning to solder more often and build some electronics projects, you should always look for these little tools that make your life easier.
report erratum • discuss
Learning How to Solder • 245
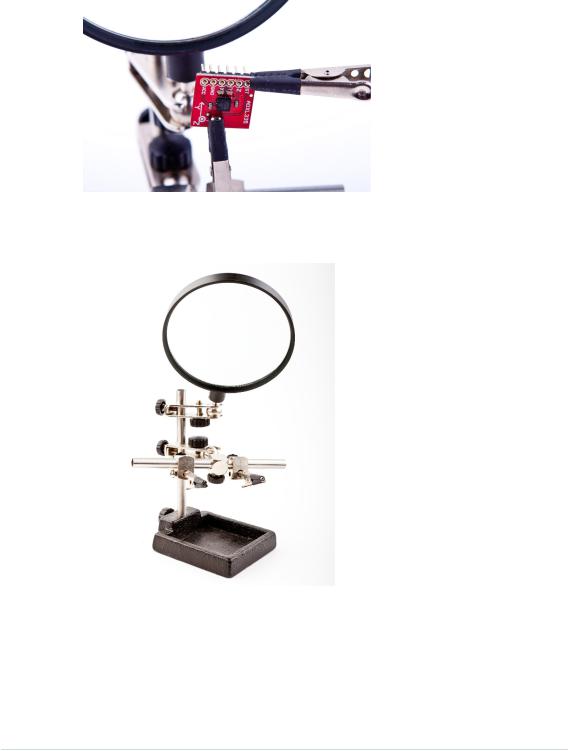
In the following figure, you can see how I’ve prepared all parts:
I’ve used a helping hand, a useful tool for locking parts into a position. Helping hands usually come with a magnifying glass, and they are cheap. If you plan to solder often, you should get one—they justify their name.
After you’ve prepared everything, it’s time to heat up the soldering iron. The main purpose of soldering is to join metallic surfaces. In our case, we’d like to join the surface of the pin header with the metal in the breakout board. To achieve this, we’ll heat up the metallic parts and then connect them using molten solder.
report erratum • discuss
Appendix 1. Electronics and Soldering Basics • 246
This process depends on a certain temperature, and having the wrong temperature is one of the most common soldering problems. If the temperature is too low, your solder joints might become fragile, and you also might have to touch the parts for too long, so you are liable to damage them. An extremely high temperature can damage your parts right away. Experts can debate for hours about “the right temperature,” but 600 to 650 (315 to 350 ) is a good compromise. Even with cheap soldering irons, you can adjust the temperature.
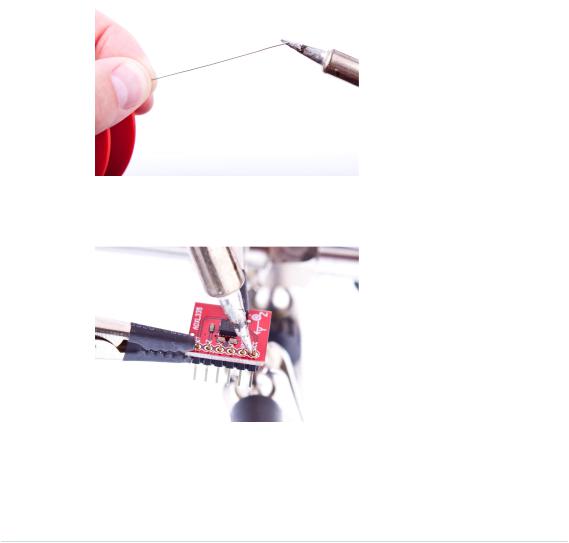
Dampen the sponge (it shouldn’t be too wet) and clean the tip by wiping it over the sponge a few times. Then tin the tip by putting a small amount of solder back onto it. This helps protect the tip, and it also improves the heat transfer to components:
Soldering is mainly about heat distribution, and now it’s time to heat the joint. Make sure the tip of the soldering iron touches the part (pin header) and the pad of the breakout board at the same time:
Keep it there for about a second, and then feed a small amount of solder between the tip and the pin:
report erratum • discuss