

epwzf20
.pdfEasy PHP Websites with the Zend Framework |
68 |
|
|
Validating Form Input
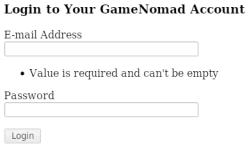
Of course, the previous example doesn't prevent you from entering an invalid e-mail address or password, including none at all. To make sure a form field isn't blank, you can associate the setRequired() method with the form field, like this:
$email = new Zend_Form_Element_Text('email'); $email->setAttrib('size', 35); $email->setRequired(true);
Merely adding the validator to your model won't result in it being enforced. You also need to adjust the login action so that the isValid() method is called, passing the POSTed data as the method's lone parameter:
public function loginAction()
{
$form = new Application_Model_FormLogin();
if ($this->getRequest()->isPost()) {
if ($form->isValid($this->_request->getPost()))
{
echo "<p>VALID INPUT!</p>";
}
}
$this->view->form = $form;
}
With the validator and action logic in place, the Zend Framework will automatically associate an error message with the invalid field even if you override the default form layout using the setDecorators() method as we did earlier in the chapter. As an added bonus, it will automatically retain the entered form values (whether valid or not) as a convenience for the user. The error message associated with the e-mail address form field is demonstrated in Figure 5.4.
Easy PHP Websites with the Zend Framework |
69 |
|
|
Figure 5.4. Displaying a validation error message
Tip
Chances are you'll want to modify the error messages' default text, or perhaps group all messages elsewhere rather than next to each form field. If so, see the later section "Displaying Error Messages".
While ensuring a field isn't blank is a great idea, you'll often need to take additional validation steps. Zend_Form takes into consideration the vast majority of your validation needs by integrating with another powerful Zend Framework component named Zend_Validate. The Zend_Validate component is packaged with over two dozen validators useful for verifying the syntactical correctness of an e-mail address, credit card number, IP address or postal code, determining whether a string consists solely of digits, alphanumerical characters, and ensuring numbers fall within a certain range. You can also use Zend_Validate to compare data to a regular expression and can even define your own custom validators. A partial list of available validators is presented in Table 5-1.
Table 5.1. Useful Zend_Form Validators
Name |
Description |
|
|
Alnum |
Determines whether a value consists solely of alphabetic and |
|
numeric characters |
|
|
Alpha |
Determines whether a value consists solely of alphabetic |
|
characters |
|
|
Between |
Determines whether a value falls between two predefined |
|
boundary values |
|
|
|
|

Easy PHP Websites with the Zend Framework |
70 |
|
|
|
|
|
|
|
Name |
Description |
|
|
|
|
CreditCard |
Determines whether a credit card number meets the specifications |
|
|
associated with a given credit card issuer. All |
major |
|
issuing institutions are supported, including American Express, |
|
|
MasterCard, Solo and Visa. |
|
|
|
|
Date |
Determines whether a value is a valid date provided in the format |
|
|
YYYY-MM-DD |
|
|
|
|
Db_RecordExists |
Determines whether a value is found in a specified database table |
|
|
|
|
Digits |
Determines whether a value consists solely of numeric characters |
|
|
|
|
EmailAddress |
Determines whether a value is a syntactically correct e-mail |
|
|
address as defined by RFC2822. This validator is also capable |
|
|
of determining whether the domain exists, whether MX records |
|
|
exist, and whether the domain's server is accepting e-mail. |
|
|
|
|
Float |
Determines whether a value is a floating-point number |
|
|
|
|
GreaterThan |
Determines whether a value is greater than a predefined a |
|
|
minimum boundary |
|
|
|
|
Identical |
Determines whether a value is identical to a predefined string |
|
|
|
|
InArray |
Determines whether a value is found within a predefined array |
|
|
|
|
Ip |
Determines whether a value is a valid IPv4 or IPv6 IP address |
|
|
|
|
Isbn |
Determines whether a value is a valid ISBN-10 or ISBN-13 |
|
|
number |
|
|
|
|
NotEmpty |
Determines whether a value is not blank |
|
|
|
|
Regex |
Determines whether a value meets the pattern defined by a regular |
|
|
expression |
|
|
|
|
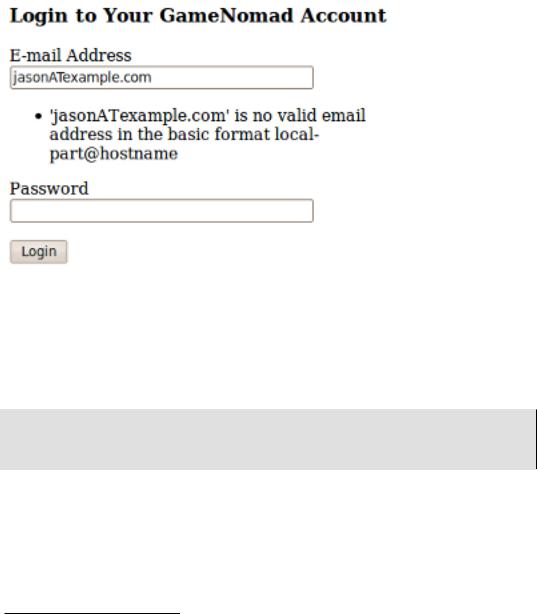
You can associate these validators with a form field using the Zend_Form addValidator() method. As an example, consider GameNomad's user registration form /account/register). Obviously we'll want the user to provide a valid e-mail address when registering, and so define the form field within the registration form model /application/models/FormRegister.php like this:
$email = new Zend_Form_Element_Text('email'); $email->setAttrib('size', 35); $email->setRequired(true); $email->addValidator('emailAddress');
Easy PHP Websites with the Zend Framework |
71 |
|
|
Submitting an invalid e-mail address produces the error message depicted in Figure 5.5.
Figure 5.5. Notifying the user of an invalid e-mail address
Several validators require you to specify boundaries in order for the validator to work properly. For instance, the StringLength validator will ensure that a string consists of a character count falling between a specified minimum and maximum. This can be useful for making sure that the user chooses a password consisting of a certain number of characters. The following example can be used to make sure that a registering user's password consists of 4-15 characters:
$pswd = new Zend_Form_Element_Password('pswd'); $pswd->setAttrib('size', 35); $pswd->setRequired(true);
$pswd->addValidator('StringLength', false, array(4,15));
You might be wondering about the mysterious second parameter in the above reference to addValidator(). When specifying boundary values, you'll need to also supply the addValidator()'s "chain break" parameter, which is by default set to false. This parameter determines whether the next validator will execute if the previous validator fails. Because the default is false, the Zend Framework will attempt to execute all validators even if one fails. If you change this value to true, validation will halt immediately should one of the validators fail.
Easy PHP Websites with the Zend Framework |
72 |
|
|
Displaying Error Messages
As you witnessed from previous examples, default error messages are associated with each validator. However these messages aren't particularly user friendly, and so you'll probably want to override these messages with versions more suitable to your website audience. To create a custom error message, use the addErrorMessage() as demonstrated here:
$pswd = new Zend_Form_Element_Password('pswd'); $pswd->setAttrib('size', 35); $pswd->setRequired(true);
$pswd->addValidator('StringLength', false, array(4,15)); $pswd->addErrorMessage('Please choose a password between 4-15 characters');
Customizing Your Messages' Visual Attributes
To further customize these messages, use your browser's View Source feature to examine how the error messages are rendered and you'll see that each message is associated with a CSS class named errors:
<ul class="errors"><li>Please provide a valid e-mail address</li></ul>
You can use this CSS class to customize the color, weight and other attributes of these messages.
Grouping Messages
If you prefer to group error messages together rather than intersperse them throughout the form, use Zend_Form's getErrors() method. This method returns an associative array consisting of form element names and error messages. This method does behave a bit odd in that it will always return an array associated with the form's submit button, meaning you'll need to account for the blank value when formatting the errors. For instance, the following output is indicative of what you'll find when using PHP's var_dump() method to display the array contents:
array(3) { |
|
["email"]=> |
array(1) { [0]=> |
string(37) "Please provide a valid e-mail address" } |
|
["pswd"]=> |
array(1) { |
[0]=> string(28) "Please provide your password" } |
|
["submit"]=> |
array(0) { } |
} |
|
|
|
Of course in order to access this error message array you'll need to pass it to the view. To do so, modify the Account controller's login action so that the errors are retrieved if the isValid() method returns FALSE:
Easy PHP Websites with the Zend Framework |
73 |
|
|
if ($form->isValid($this->_request->getPost()))
{
echo "<p>VALID INPUT!</p>";
}else {
$this->view->errors = $form->getErrors();
}
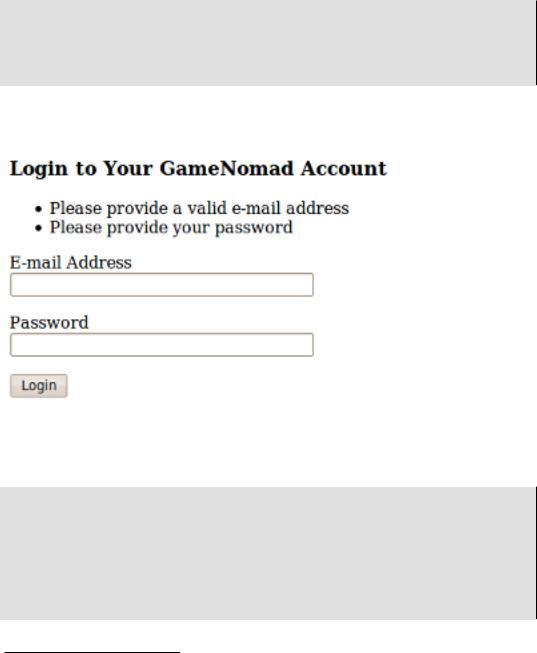
Using a custom view helper (custom view helpers were introduced in Chapter 3) you can conveniently encapsulate the error message format and display logic, producing output such as that presented in Figure 5.6.
Figure 5.6. Displaying a validation error message
To create the message format shown in Figure 5.6 I've created the following Errors view helper (name this file Errors.php and place it in your application/views/helpers/ directory):
class Zend_View_Helper_Errors extends Zend_View_Helper_Abstract
{
/**
*Outputs errors using a uniform format
*@param Array $errors
*@return nil
*/
public function Errors($errors)

Easy PHP Websites with the Zend Framework |
74 |
|
|
{
if (count($errors) > 0) { echo "<div id='errors'>";
echo "<ul>";
foreach ($errors AS $error) { if ($error[0] != "") {
printf("<li>%s</li>", $error[0]);
}
}
echo "</ul>"; echo "</div>";
}
}
}
With the view helper created, all that's left is to modify the login.phtml view to output the errors if any exist:
<h3>Login to Your GameNomad Account</h3> <?= $this->Errors($this->errors); ?> <?= $this- >form; ?>
Completing the Process
Should the isValid() method return TRUE, meaning that all fields have met their validation requirements, then you'll need to process the data. Exactly what this entails depends upon what you intend on doing with the form data. For instance, you might insert the data into a database, initiate an authenticated user session, or e-mail the form data to a technical support team. All of these tasks are topics for later chapters so while I'd prefer to avoid putting the cart ahead of the horse and dive into concepts that have yet to be introduced, it would be nonetheless useful to offer a complete example which shows you just how succinct your code can really be when taking full advantage of Zend_Form and models such as FormLogin. The following example presents a typical login action, responsible for presenting the login form, validating submitted form data, attempting to authenticate the user and initiate a new session if the form data is valid, updating the user's account record to reflect the latest successful login timestamp, and displaying errors or other notifications based on the authentication attempt outcome. All of these tasks are accomplished in 50 lines of succinct, user-friendly code! The code is presented, followed by a brief summary. Don't worry about understanding all of the syntax for now as I'll be introducing it in great detail in later chapters; instead just marvel at the simple, straightforward approach used to accomplish these tasks.
01 public function loginAction()
02 {

Easy PHP Websites with the Zend Framework |
75 |
|
|
03
04 $form = new Application_Model_FormLogin(); 05
06 if ($this->getRequest()->isPost()) { 07
08 if ($form->isValid($this->_request->getPost())) { 09
10$db = Zend_Db_Table::getDefaultAdapter();
11$authAdapter = new Zend_Auth_Adapter_DbTable($db);
13$authAdapter->setTableName('accounts');
14$authAdapter->setIdentityColumn('email');
15$authAdapter->setCredentialColumn('pswd');
16$authAdapter->setCredentialTreatment('MD5(?) and confirmed = 1');
18$authAdapter->setIdentity($form->getValue('email'));
19$authAdapter->setCredential($form->getValue('pswd'));
21$auth = Zend_Auth::getInstance();
22$result = $auth->authenticate($authAdapter);
24// Did the user successfully login?
25if ($result->isValid()) {
27$account = new Application_Model_Account();
29$lastLogin = $account->findByEmail($form->getValue('email'));
31$lastLogin->last_login = date('Y-m-d H:i:s');
33 $lastLogin->save();
34
35$this->_helper->flashMessenger->addMessage('You are logged in');
36$this->_helper->redirector('index', 'index');
37
38} else {
39$this->view->errors["form"] = array("Login failed.");
40}
41
42} else {
43$this->view->errors = $form->getErrors();
44}
45
46 }
47
48 $this->view->form = $form; 49
50 }

Easy PHP Websites with the Zend Framework |
76 |
|
|
Let's review the code:
•Line 04 instantiates the FormLogin model as has been demonstrated throughout this chapter.
•Line 06 determines whether the form has been submitted. If so, form validation and subsequent attempts to authenticate the user will ensue.
•Lines 10-22 attempt to authenticate the user by consulting a database table named accounts. This topic is discussed in great detail in Chapter 8.
•If authentication was successful (as determined by line 25), lines 27-33 update the successfully authenticated user's last_login attribute within his database record to reflect the current timestamp.
•Lines 35-36 are responsible for letting the user know he has successfully logged into the site and redirecting him to the home page. This is known as a flash message, a great feature I'll introduce in the next section.
•Lines 38 and 44 account for any errors which have cropped up as a result of attempting to authenticate the user. Notice how line 38 in particular embraces the same format used by Zend_Form.
Introducing the Flash Messenger
Your users are busy people, and so will appreciate for any steps you can take to reduce the number of pages they'll need to navigate when creating a new account or logging into the website. For instance, following a successful login it would be beneficial to automatically transport users to the page they will most likely want to visit first. At the same time you'll want to make it clear to the user that he did successfully login to his account. So how can you simultaneously complete both tasks?
Most modern web frameworks, the Zend Framework included, solve this dilemma by offering a feature known as a flash messenger. The flash messenger is a mechanism which allows you to create a notification message within one action and then display that message when rendering the view of another action. This feature was demonstrated in lines 35-36 of the previous example:
$this->_helper->flashMessenger->addMessage('You are logged in'); $this->_helper->redirector('Index', 'index');
The first line of this example uses the built-in flash messenger's addMessage() method to define the notification message. Next, the user is redirected to the Index controller's index action.
Easy PHP Websites with the Zend Framework |
77 |
|
|
Although flash messages may be defined within any action and conceivably displayed in any other, chances are there will only be a select few where the latter will occur. Therefore you could either embed the following code in the action whose view will display a flash message, or within a controller's init() method:
if ($this->_helper->FlashMessenger->hasMessages()) { $this->view->messages = $this->_helper->FlashMessenger->getMessages();
}
You can however consolidate the view-specific code to your layout.phtml file, adding the following code wherever you would like the messages to appear:
<?php
if (count($this->messages) > 0) {
printf("<div id='flash'>%s</div>", $this->messages[0]);
}
?>
This presumes you're only interested in the first message. While it's possible to pass and display several messages, I've not had to do so and therefore am only worried about the first array element.
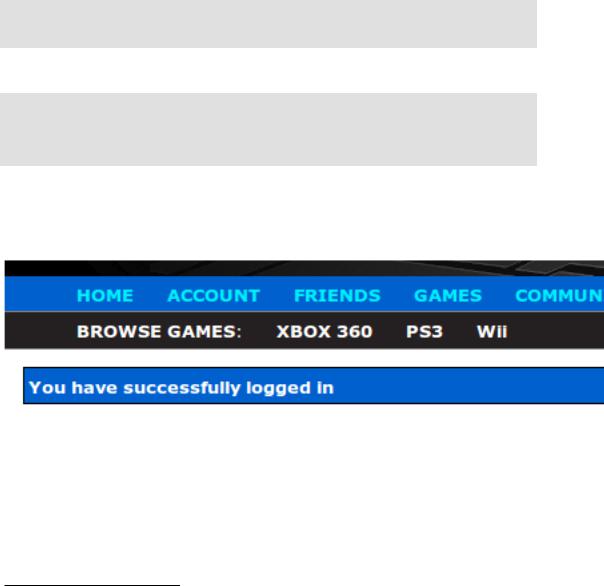
With the flash messenger integrated, you'll see a flash message displayed after successfully logging into your GameNomad account. This feature is depicted in Figure 5.7.
Figure 5.7. Using the flash messenger
Populating a Form
Whether you're creating administrative interfaces for managing product information, or would like to provide registered users with the ability to manage their account profiles, you'll need to know how to prepopulate forms with data retrieved from some data source, presumably a database. As it turns out, populating Zend Framework forms is surprisingly easy, requiring you to simply create an