

WEB WITH A VIEW  135
135
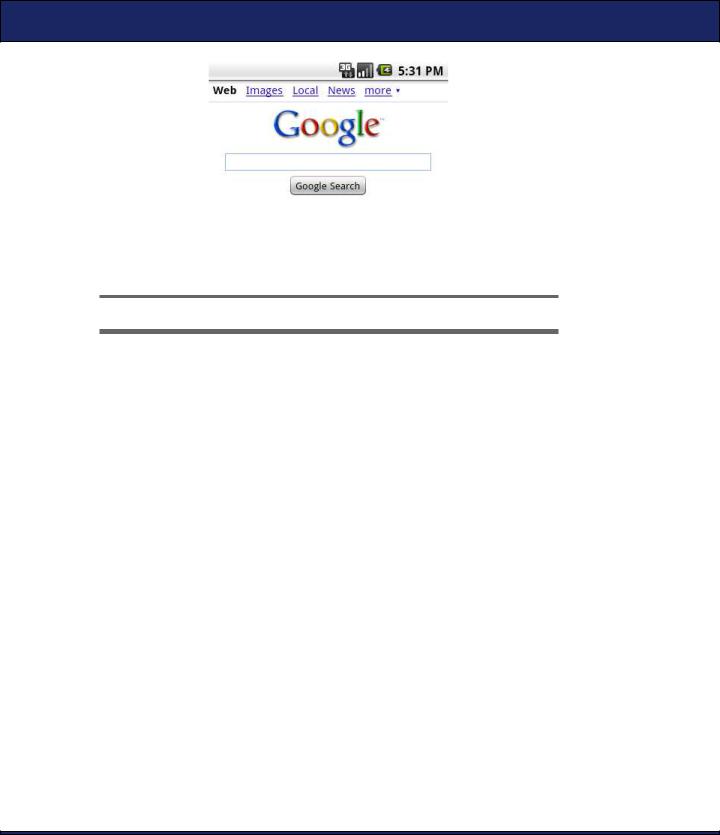
Figure 7.2: Viewing a web page with the default browser
The next line creates a new Intent class with an action of ACTION_VIEW, passing it the Uri class just created as the object we want to view. Finally, we call the startActivity( ) method to request that this action be performed.
When the Browser activity starts, it will create its own view (see Figure 7.2), and your program will be paused. If the user presses the Back key at that point, the browser window will go away, and your application will continue. But what if you want to see some of your user interface and a web page at the same time? Android allows you to do that by using the WebView class.
7.2Web with a View
On your desktop computer, a web browser is a large, complicated, memory-gobbling program with all sorts of features like bookmarks, plug-ins, Flash animations, tabs, scroll bars, printing, and so forth.
When I was working on the Eclipse project and someone suggested replacing some common text views with embedded web browsers, I thought they were crazy. Wouldn’t it make more sense, I argued, to simply enhance the text viewer to do italics or tables or whatever it was that was missing?

WEB WITH A VIEW  136
136
It turns out they weren’t crazy because:
•A web browser can be (relatively) lean and mean if you strip out everything but the basic rendering engine.
•If you enhance a text view to add more and more things that a browser engine can do, you end up with either an overly complicated, bloated text viewer or an underpowered browser.
Android provides a wrapper around the WebKit browser engine called WebView that you can use to get the real power of a browser with as little as 1MB of overhead. Although 1MB is still significant on an embedded device, there are many cases where using a WebView is appropriate.
WebView works pretty much like any other Android view except that it has a few extra methods specific to the browser. I’m going to show you how it works by doing an embedded version of the previous example. This one will be called BrowserView instead of BrowserIntent, since it uses an embedded View instead of an Intent. Start by creating a new “Hello, Android” project using these settings:
Project name: BrowserView
Build Target: Android 2.2
Application name: BrowserView
Package name: org.example.browserview
Create Activity: BrowserView
Min SDK Version: 8
The layout file for BrowserView is similar to the one in BrowserIntent, except we’ve added a WebView at the bottom:
Download BrowserView/res/layout/main.xml
<?xml version="1.0" encoding="utf-8"?>
<LinearLayout xmlns:android="http://schemas.android.com/apk/res/android" android:orientation="vertical" android:layout_width="fill_parent" android:layout_height="fill_parent">
<LinearLayout android:orientation="horizontal" android:layout_width="fill_parent" android:layout_height="wrap_content"> <EditText
android:id="@+id/url_field" android:layout_width="wrap_content" android:layout_height="wrap_content" android:layout_weight="1.0" android:lines="1" android:inputType="textUri" android:imeOptions="actionGo" />

WEB WITH A VIEW  137
137
<Button android:id="@+id/go_button"
android:layout_width="wrap_content" android:layout_height="wrap_content" android:text="@string/go_button" />
</LinearLayout>
<WebView android:id="@+id/web_view"
android:layout_width="fill_parent" android:layout_height="wrap_content" android:layout_weight="1.0" />
</LinearLayout>
We use two LinearLayout controls to make everything appear in the right place. The outermost control divides the screen into top and bottom regions; the top has the text area and button, and the bottom has the WebView. The innermost LinearLayout is the same as before; it just makes the text area go on the left and the button on the right.
The onCreate( ) method for BrowserView is exactly the same as before, except that now there is one extra view to look up:
Download BrowserView/src/org/example/browserview/BrowserView.java
import android.webkit.WebView;
// ...
public class BrowserView extends Activity { private WebView webView;
// ...
@Override
public void onCreate(Bundle savedInstanceState) { // ...
webView = (WebView) findViewById(R.id.web_view); // ...
}
}
The openBrowser( ) method, however, is different:
Download BrowserView/src/org/example/browserview/BrowserView.java
/** Open a browser on the URL specified in the text box */ private void openBrowser() {
webView.getSettings().setJavaScriptEnabled(true); webView.loadUrl(urlText.getText().toString());
}
WEB WITH A VIEW  138
138
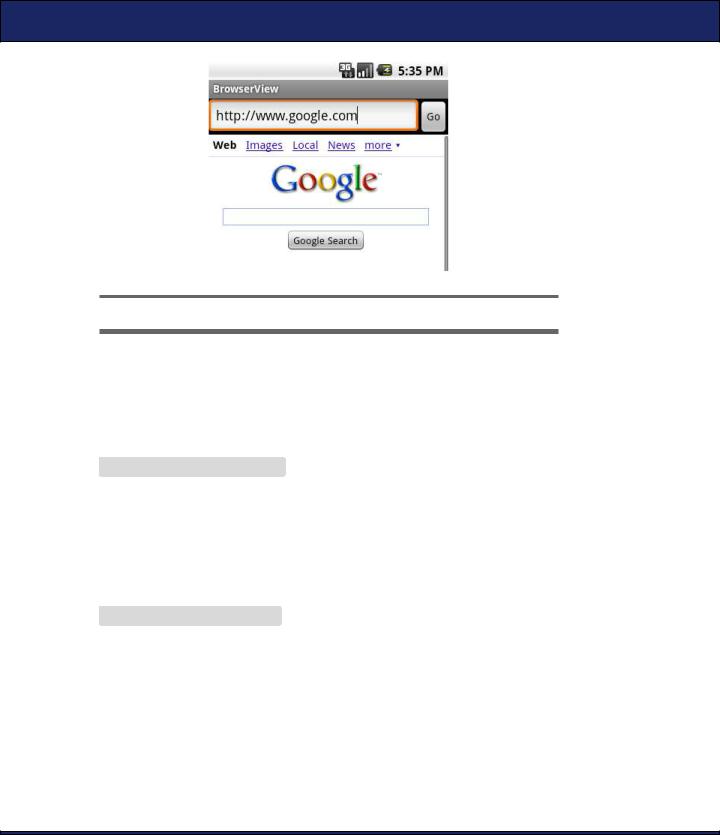
Figure 7.3: Embedding a browser using WebView
The loadUrl( ) method causes the browser engine to begin loading and displaying a web page at the given address. It returns immediately even though the actual loading may take some time (if it finishes at all).
Don’t forget to update the string resources:
Download BrowserView/res/values/strings.xml
<?xml version="1.0" encoding="utf-8"?> <resources>
<string name="app_name">BrowserView</string> <string name="go_button">Go</string>
</resources>
We need to make one more change to the program. Add this line to
AndroidManifest.xml before the <application> tag:
Download BrowserView/AndroidManifest.xml
<uses-permission android:name="android.permission.INTERNET" />
If you leave this out, Android will not give your application access to the Internet, and you’ll get a “Web page not available” error.
Try running the program now, and enter a valid web address starting with “http://”; when you press Return or select the Go button, the web page should appear (see Figure 7.3).
WEB WITH A VIEW  139
139
Joe Asks. . .
Why Didn’t BrowserIntent Need <uses-permission>?
The previous example, BrowserIntent, simply fired off an intent to request that some other application view the web page. That other application (the browser) is the one that needs to ask for Internet permissions in its own AndroidManifest.xml.
WebView has dozens of other methods you can use to control what is being displayed or get notifications on state changes.
You can find a complete list in the online documentation for WebView, but here are the methods you are most likely to need:
•addJavascriptInterface( ): Allows a Java object to be accessed from JavaScript (more on this one in the next section)
•createSnapshot( ): Creates a screenshot of the current page
•getSettings( ): Returns a WebSettings object used to control the settings
•loadData( ): Loads the given string data into the browser
•loadDataWithBaseURL( ): Loads the given data using a base URL
•loadUrl( ): Loads a web page from the given URL
•setDownloadListener( ): Registers callbacks for download events, such as when the user downloads a .zip or .apk file
•setWebChromeClient( ): Registers callbacks for events that need to be done outside the WebView rectangle, such as updating the title or progress bar or opening a JavaScript dialog box
•setWebViewClient( ): Lets the application set hooks in the browser to intercept events such as resource loads, key presses, and authorization requests
•stopLoading( ): Stops the current page from loading
One of the most powerful things you can do with the WebView control is to talk back and forth between it and the Android application that contains it. Let’s take a closer look at this feature now.