

05.YH_Topic_2
.pdfTopic 2
Building Elements and Materials
Purpose: To develop an understanding of the elements and materials that form built environments, the origin, nature and properties of these materials and their appropriate integration into built form.
Built Environment Objectives
•To develop an appreciation of the diversity of human shelter.
•To develop an understanding of the relationship between technology and the built environment.
•To develop an understanding of the elements and materials which form the built environments.
•To raise awareness and understanding of the built environment, both for itself and how it relates to the natural environment.
Aims
At the end of this topic, students will:
•know that houses consist of elements which serve different functions (such as, roof, walls, floor, doors, windows)
•understand that elements of houses provide protection from weather and danger
•know that the materials which form these elements are chosen because of their physical properties and availability
•understand that the elements of houses are constructed in particular ways, using materials which have particular properties
•know some of the resources and production methods used to make some building materials.
Topic 2 |
Page 1 |
Building Elements and Materials |
A suggested teaching and learning sequence
Preface
This topic investigates the elements which make up houses and the materials which are used to build them. As resource material may be difficult to access, Information Pages have been included to assist with teaching this topic. We also suggest contacting local architects and builders to obtain information.
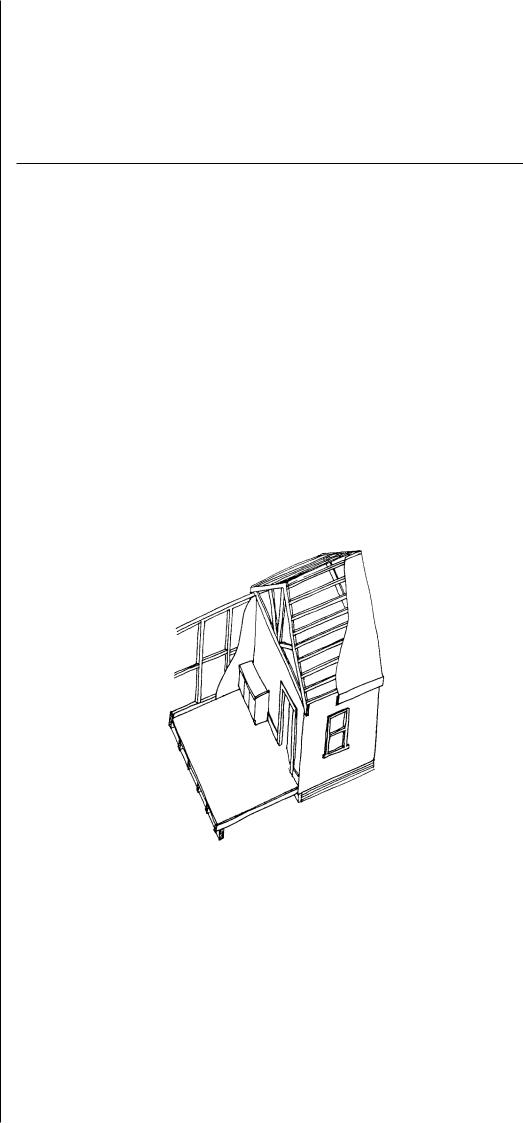
The Elements of a House
Show students a box and ask them to identify in which ways it can represent a house. The aim is to identify the basic elements of a house: the roof/ceiling, the walls and the floor.
Ask the students to further suggest what is needed to complete the house. For instance, openings such as windows and doors, and other features such as a pitched roof, verandah or stilts/piers.
In groups, students brainstorm the purpose of each element of the house.
The Materials used to Form the Elements of a House
Individually, students suggest the type of materials which each of the building elements can be made of. Students can list the elements and then write what they think they would be made of. Alternatively, students can write a list of building materials and, as a class, discuss which of the elements would be constructed from that material.
Building Elements and Materials |
Page 2 |
Topic 2 |

A suggested teaching and learning sequence
Homework Activity
Students should identify the materials used in the construction of the roof, walls, floor, ceiling and openings of their home.
The information should be presented as a pictorial report incorporating photographs or drawings of each of the elements in their house accompanied by brief descriptive notes.
Student Activity
As a class, students collate their lists and present them as a graph. This will give students a visual representation of the most common materials used for each element in their local area.
Discuss why there are similarities and differences in each list. For example:
•what materials are produced locally
•the age of the houses
•the role of personal preference.
Suggest how the list of materials might change if the students lived in different parts of Australia or the world. The choice of materials may be affected by availability and climate.
Try to contact other schools (perhaps through the internet) to find out more about regional differences.
Other Elements
As well as the main elements of the house discussed above, there are a number of elements of a house which are less obvious, but which also play an important part in a building. These elements are:
•temperature control – insulation, sun shading, mechanical temperature control
•waterproofing – sarking, flashings, damp-proof courses
•ventilation – windows, subfloor vents, roof vents, kitchen and bathroom exhaust
•plumbing – hot and cold water supply, waste water removal, stormwater management, bathroom fittings, sinks and troughs
•power – electricity, gas, solar
•finishes – floor coverings, wall surfaces, ceiling surfaces, decorative elements
•furniture – built in furniture, loose furniture.
Some of these elements may be difficult to identify. Ask an architect or builder to introduce these elements to the class.
Ask the students to consider how each of these elements is incorporated into their house.
Add this information to the pictorial reports.
Topic 2 |
Page 3 |
Building Elements and Materials |

A suggested teaching and learning sequence
Climate and its Effect on Building Elements and Material
Students should identify which climatic zones exist in Australia. Contact the Bureau of Meteorology and refer to an atlas to find this information.
Working in groups, students investigate how Australian housing responds to the different climatic zones. Do the elements and materials of Australian houses change in the different climatic zones?
Use the Information Page (page 7) to introduce the main climate types.
Group Reporting
Each group to present its findings to the class and prepare a poster.
The Uses and Properties of Construction Materials
Final Activity
Working in groups, the students research the uses and properties of various building materials (that is, timber, brick, concrete, steel, aluminium, glass, plaster and plasterboard, roof tiles, wall and floor tiles, particle board, fibre cement sheet and insulation).
Using the materials information pages, resource books, information produced by the building industry and interviews with architects, builders and tradespeople, the groups could investigate some of the following issues in relation to their selected material:
•the origins of the material – where the raw material is sourced from, how is it collected, the effect on the natural environment
•the processes used to turn the raw material into a building material and the effect on the natural environment
•which elements of a building the material is used to construct
•the other materials which could be used for these elements of a building. Groups to compare information – look at the relative benefits and disadvantages of the materials being considered
• how it forms part of the building – how it is joined to other materials, which materials it is joined to, how it is shaped, what is done to finish the material (that is, painting, waterproofing)
•the advantages and disadvantages of the material
•how the material should be maintained and how frequently
•the cost of the material
•the history of the material – where it was first used and how its use and production have changed over time
•the cost of the use of the material to the natural environment
•the re-use/recycle opportunities of the material.
Building Elements and Materials |
Page 4 |
Topic 2 |

Information Page
Climatic Zones
•Hot Dry Climates – Flat roofs provide a cheap way to build and minimal rainfall reduces the chance of them leaking. Small windows in the perimeter walls reduces the heat entering the house, while big openings to internal, shaded courtyards provide ventilation. Very thick walls, which store heat from the sun, prevent the house from heating up during the day but give off heat during the cold nights.
•Cold Climates – Steeply pitched roofs ensure the snow falls off, stopping the roof collapsing under the weight. Thick walls and small windows stop heat escaping from inside. Small roof overhangs give minimal shade and let the maximum amount of sunlight into the house when it is available.
•Warm Humid Climates – Large overhanging roofs provide protection from the heavy, driving rain and shade the walls. This allows large openings in the walls to maximise air movement. Raised floors also help with ventilation and lightweight walls, which do not store heat, help keep the internal temperatures as low as possible.
•Windy Climates – Domes provide strength in places that are very windy.
Topic 2 |
Page 5 |
Building Elements and Materials |

A suggested teaching and learning sequence
Group Presentation –
Production of Information Booklets
The findings of each group could be presented to the class in a verbal presentation and in an information booklet. The booklets might be displayed at the local Council’s Building Department or kept as references in the school library.
Possible Assessment Strategies
•teacher analysis of pictorial reports and group reports
•student appraisal of climate zone posters and verbal reports
•discussion with students about their research regarding the uses and properties of materials
•peer assessment of the students’ talks about the uses and properties of materials.
Extension Activities
•investigate the ways different materials are joined together in buildings
•visit places with innovative designs and uses of materials – contact The Royal Australian Institute of Architects for suggestions
•investigate how materials used to construct housing in Australia have changed over time
•make mud bricks as described at the end of the topic
•visit a local TAFE trade workshop or building site. Check regarding access and safety requirements first.
Building Elements and Materials |
Page 6 |
Topic 2 |

Activity
Making and Testing Mud Bricks
Introduction
Divide the class into eight groups. Each group will make a set of 10 mud bricks. The materials given to each group and the method of drying the bricks will vary between groups. As a class, the bricks produced by each group will be tested to see how strong and durable they are. This will allow the effect of the difference in materials and production to be compared.
Purpose
To demonstrate the differences that raw materials and production method can have on the properties of a simple building material – the mud brick.
Resources
•a quantity of clay soil (about the equivalent of a bag of potting mix)
•a quantity of sandy soil (about the equivalent of a bag of potting mix)
•a small bag of cement
•straw
•water
•small plastic containers of an equal size to use as moulds (rectangular shape preferable)
•mixing spoons
•plastic for protecting surrounding area
•buckets for mixing/washing hands and utensils
•trays for placing finished bricks on for drying
•plastic gloves and smocks
•an oven.
Groups
1.clay soil
2.clay soil with straw
3.clay soil with cement
4.clay soil with cement and straw
5.sandy soil
6.sandy soil with straw
7.sandy soil with cement
8.sandy soil with cement and straw.
Topic 2 |
Page 7 |
Building Elements and Materials |

Activity
Mud-Brick Activity
Making
Each group should make at least 10 bricks. Have each group:
1.thoroughly mix the raw ingredients together
2.add water, a small amount at a time (the mixture should be firm and smooth but not sloppy)
3.push the mixture into the moulds to form bricks and ease out onto trays (greasing the moulds may help)
4.reshape moulded bricks, as required, once out of the moulds
5.scratch the group’s number lightly into each brick for identification
6.measure the bricks once they have been made.
Let all the bricks partially dry out overnight. Leave half of the bricks from each group to dry naturally and dry the remainder in an oven or kiln. Do not mix up the kiln dried and naturally dried bricks.
Testing
Before drying the bricks, measure their size.
Once the bricks are dried, test as follows. With all the finished bricks in their groups:
1.measure the dry size and compare with the size before drying
2.note any twisting, cracking, changes in colour, between the dry bricks and the material before drying, and between the dry bricks of different groups.
With one naturally dried and one oven dried brick from each group:
1.place in a bucket of water and observe at regular intervals, noting any changes
2.scratch the surface of the brick and note how hard or soft the surface is
3.drop each brick from a constant height and note what happens.
Appraising
Tabulate the data collected from the testing of the bricks.
•What does it show about the strength of the different raw materials used?
•What influence does the method of drying have?
•Which bricks would be the best for building with? Why?
•How do the materials and drying methods used compare with those used for commercially available bricks/blocks?
•How do the mud bricks compare with commercially available bricks/blocks?
•Do the tests provide us with useful information? If not, why?
Building Elements and Materials |
Page 8 |
Topic 2 |

Activity
Reporting
Present the conclusions in a class report.
Possible Outcomes
The conclusion of the testing may be that:
•all of the bricks made were about the same
•the raw materials had most effect on the end product
•the method of drying had most effect on the end product
•a combination of raw material and drying had the most effect on the end product.
Topic 2 |
Page 9 |
Building Elements and Materials |

Information Page
Floors
Floors provide a base for a building. The floor has two main components:
1.the structure which supports the building on top of the ground and provides a solid base for the rest of the building to be built upon
2.a platform on which the people and objects in the building are supported.
Most floors in Australian houses are built in the following ways.
Timber floor joist
Steel cross bracing
Timber floor
Timber beam
Timber post
Bottom of post buried in the ground
Post and beam
•Used where the floor level is raised above ground level due to the slope of the land to:
1.avoid floods
2.provide air circulation
•Generally made of timber
•Must be braced to stop the frame being unstable
•Walls must be framed as masonry is too heavy for floors.
Timber bearer on brick pier
Concrete strip footing
Timber bearer
Timber floor
Timber floor joist
Isolated block pier
Timber frame on strip footings
•Traditional construction used from colonial times through to today
•Masonry used in contact with the ground, as it will not rot and can support masonry walls
•Timber frame supports the floor platform.
Steel reinforcing |
|
|
mesh |
Set down |
|
Concrete |
|
|
slab |
|
|
Sand |
Plastic lining to |
|
|
||
Steel reinforcement |
stop water in |
|
bars |
the ground being |
|
Concrete beam |
absorbed by the |
|
concrete |
||
|
Concrete slab and beam
•Modern construction used since the 1960’s
•Less likely to crack or move than strip footings, as it is all connected and “floats” on top of the ground
– sometimes called a “raft slab”
•Concrete forms the structure and floor platform.
Building Elements and Materials |
Page 10 |
Topic 2 |