

Chapter 5 - MPLAB
Previous page |
Table of contents |
Chapter overview |
Next page |
5.5 Designing a new assembler file (writing a new program)
When "project" part of the work is finished, we need to start writing a program. In other words, new file must be opened, and will be named "test.asm". In our case, file has to be named "test.asm" because in projects which have only one file (such as ours), name of the project and name of the source file have to be the same.
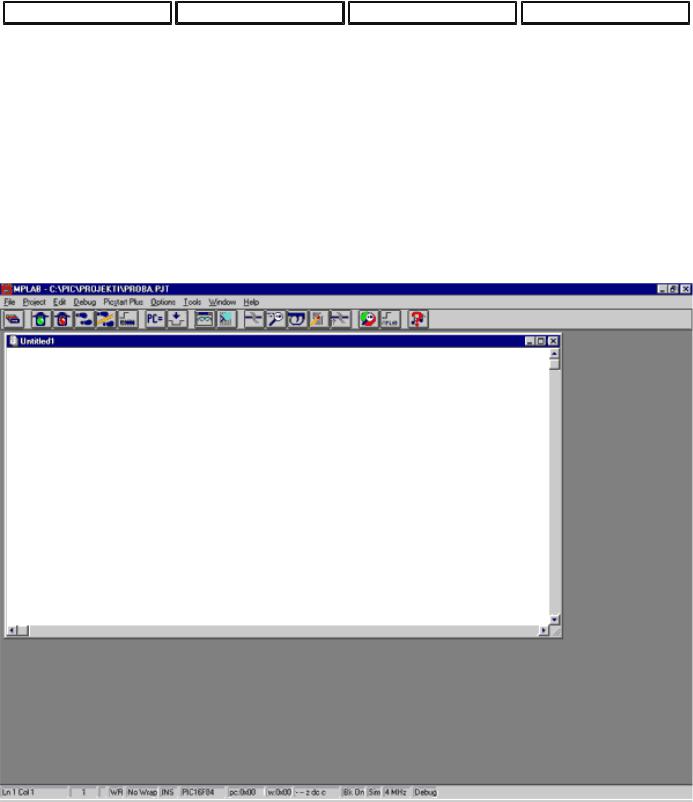
New file is opened by clicking on FILE>NEW. Thus we get a text window inside MPLAB work space.
New assembler file opened
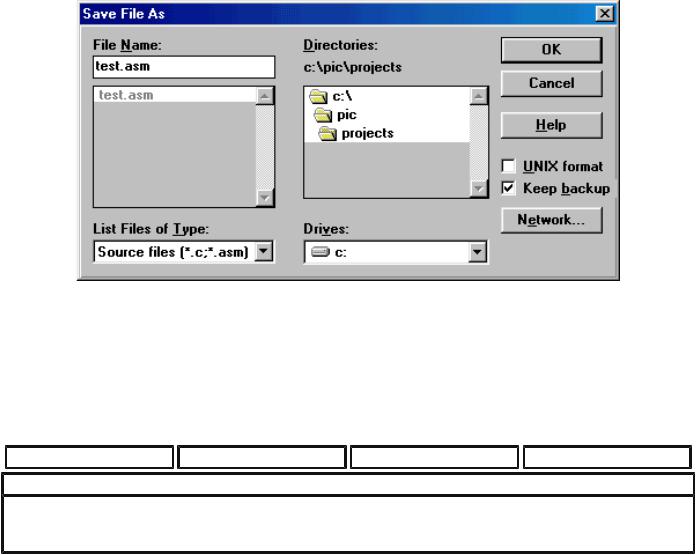
New window represents a file where program will be written. Since our assembler file has to be named "test.asm", we will name it so. Naming is done (as with all Windows programs) by clicking on FILE>SAVE AS. Then we get a window like the following picture.
http://www.mikroelektronika.co.yu/english/product/books/PICbook/5_05Poglavlje.htm (1 of 2) [4/2/2003 16:18:26]
Chapter 5 - MPLAB
Naming and saving a new assembler file
When we get this window, we need to write 'test.asm' below 'File name:', and click on OK. After that, we will see 'test.asm' file name at the top of our window.
Previous page |
Table of contents |
Chapter overview |
Next page |
© Copyright 1999. mikroElektronika. All Rights Reserved. For any comments contact webmaster.
http://www.mikroelektronika.co.yu/english/product/books/PICbook/5_05Poglavlje.htm (2 of 2) [4/2/2003 16:18:26]
Chapter 5 - MPLAB
Previous page |
Table of contents |
Chapter overview |
Next page |
5.6 Writing a program
Only after all of the preceding operations have been completed we are able to start writing a program. Since a simple program has already been written in "Assembly Language Programming" section of the book, so we will use that same program here, too.
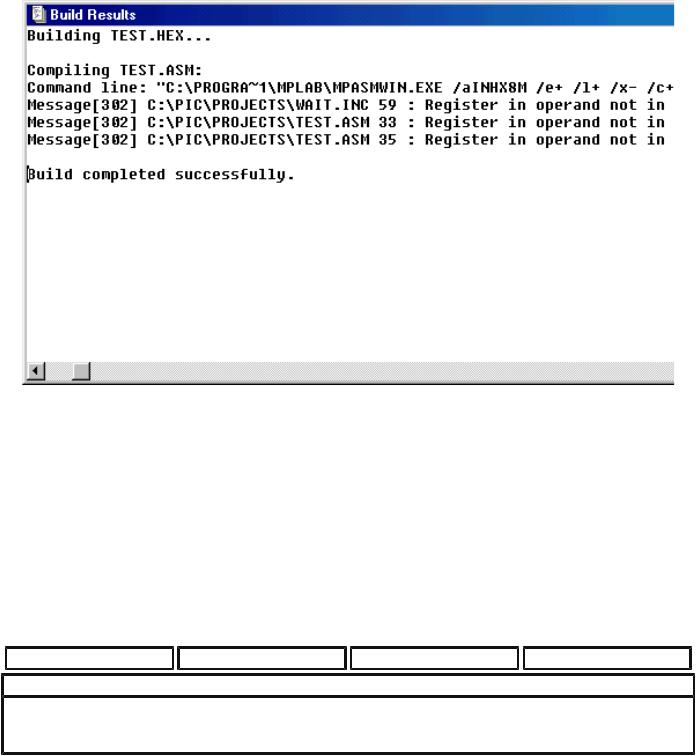
Program has to be written to a window that's opened, or copied from a disc, or taken from MikroElektronika Internet presentation using options copy and paste. When the program is copied to "test.asm" window, we can use PROJECT -> BUILD ALL command (if there were no errors), and a new window would appear as in the next picture.
http://www.mikroelektronika.co.yu/english/product/books/PICbook/5_06Poglavlje.htm (1 of 2) [4/2/2003 16:18:28]
Chapter 5 - MPLAB
Window with messages following a translation of assembler program
We can see from the picture that we get "test.hex" file as a result of translation process, that MPASMWIN program is used for translation, and that there is one message. In all that information, the last sentence in the window is the most important one because it shows whether translation was successful or not. 'Build completed successfully' is a message stating that translation was successful and that there were no errors.
In case an error shows up, we need to double click on error message in 'Build Results' window. This would automatically transfer you to assembler program and to the line where the error was.
Previous page |
Table of contents |
Chapter overview |
Next page |
© Copyright 1999. mikroElektronika. All Rights Reserved. For any comments contact webmaster.
http://www.mikroelektronika.co.yu/english/product/books/PICbook/5_06Poglavlje.htm (2 of 2) [4/2/2003 16:18:28]